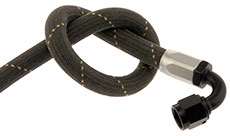
Using Bent Tube Style or Forged Black and Silver Anodized Hose Ends
Super-Flex Braided PTFE Fuel/Oil Hose & AN Hose Ends
If you are used to using traditional red-and-blue AN hose ends with rubber-lined stainless braided hose, the first thing you might notice is that the silver collar on these fittings will slip right off of the black body.
This is normal!
Unlike those old-fashioned hose ends, the two pieces on these hose ends do not screw together. In fact, they won't even touch until assembly is almost complete.
The silver collar is designed to be a slightly loose fit over the hose. It's really only there to give you a hex for the final tightening step. The black inner portion will actually thread itself into the rigid PTFE liner as you install it. (The silver collar is technically also designed to hold the hose tight against the inner portion at this point, but it will be loose when you first put it on the hose.)
 |
Step 1Cut the hose squarely to length using a Cut-off Machine or a very fine tooth hacksaw. To minimize braid flare out, wrap Type 910 Aramid Braided Hose with low-tack blue painter's tape or wrap Type 811 Stainless Braided Hose with glass filament strapping tape. Do not remove tape until ready for step 2. |
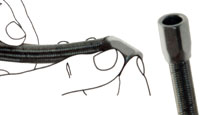 |
Step 2Remove tape and then quickly insert hose into the socket. Insert hose with a turning motion, feeding the braid in as you turn the hose. Koul Tools aren't needed on these easy-to-install hose ends. |
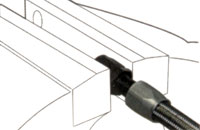 |
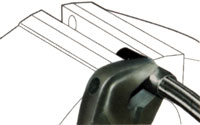
Step 3Hold the fitting in a vice with smooth or soft jaws, and lubricate the threads with a light oil. |
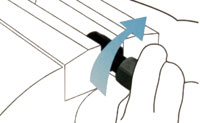 |
Step 4Push the hose firmly onto the thread while rotating the hose. Keep turning the hose until the first three to four threads have engaged. |
 |
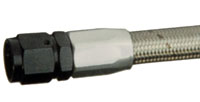
Step 5Tighten socket using a wrench. Continue turning the socket until it reaches the base of the thread. IMPORTANT: When the socket reaches the base of the thread keep turning for two complete turns. |
 |
Step 6Thoroughly clean the assembly. Proof test to twice operating pressure and carefully inspect all assemblies. |


